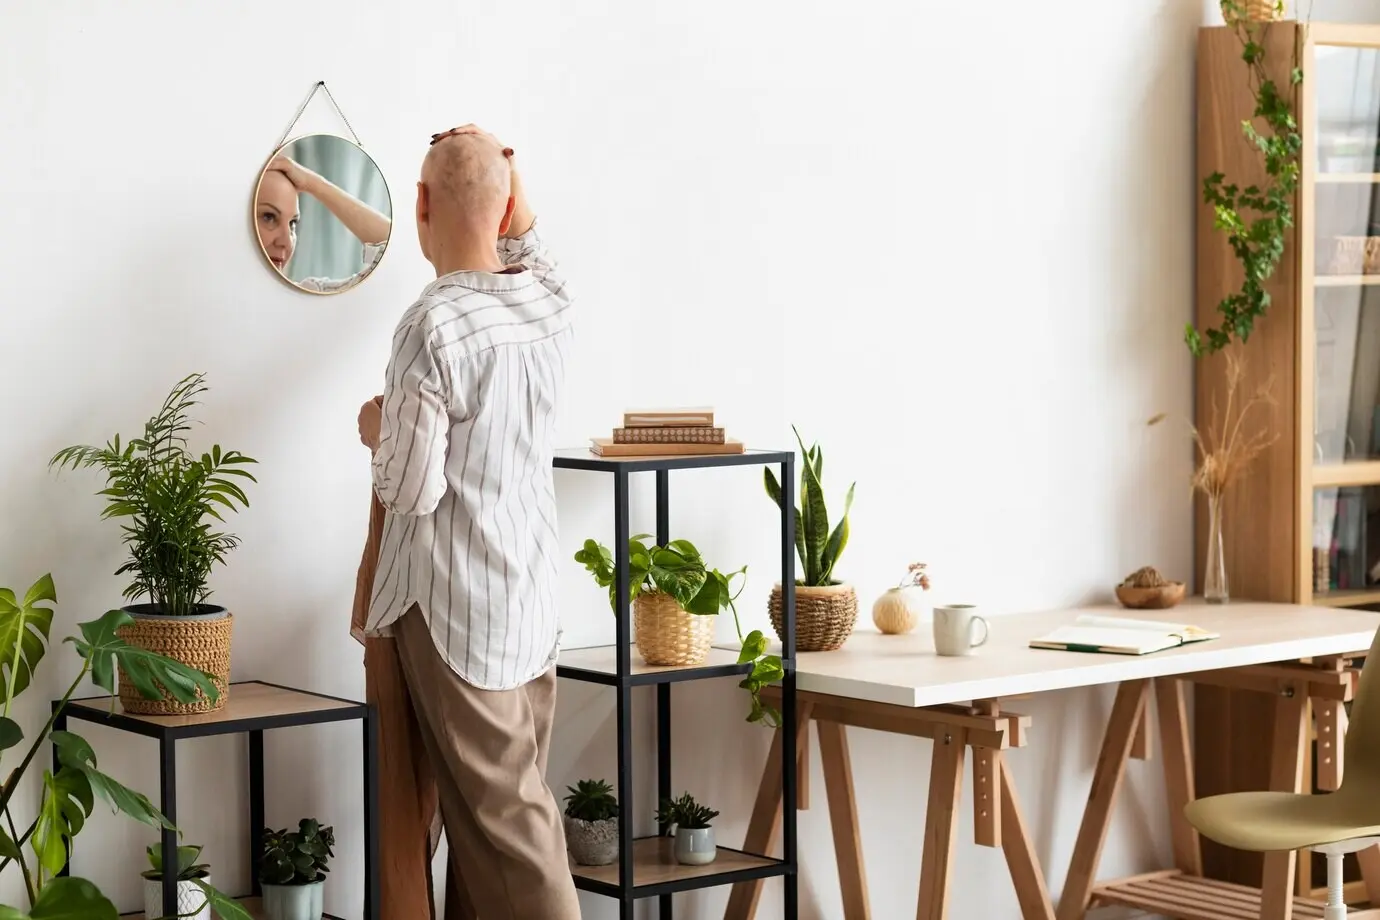
Give Every Beloved Piece a Second Life

Today we explore Repair, Refinish, and Upcycle: Extending the Lifespan of Eco-Conscious Home Pieces, bringing practical methods and heartfelt stories to your living spaces. Expect clear guidance, gentle encouragement, and inventive strategies that save money, reduce waste, and honor craftsmanship. Whether you are mending a wobbly chair or reinventing a thrifted cabinet, you will find approachable steps, safer material choices, and creative momentum to keep cherished items in use for years.

Start with an Honest Assessment

Before sanding or staining, pause to understand the object’s condition and potential. A thoughtful inspection reveals structural issues, finish failures, hidden fasteners, and prior repairs that influence your next move. This patient approach protects fragile details, prevents unnecessary waste, and ensures the plan respects the piece’s history while aligning with your budget, skills, and time. Clarity here avoids frustration later and transforms guesswork into confident, restorative action.

Refinishing Wood and Metal with Low-Impact Methods

Refinishing should protect character while refreshing function. Gentle, layered steps reduce waste and preserve patina. Instead of aggressive stripping by default, test localized cleaning, spot repairs, and finish rejuvenators. When heavier work is necessary, choose safer chemicals, mechanical methods with dust control, and water-based products that cure hard without lingering odor. The goal is not a factory-new look, but a durable, respectful finish that ages with grace and honesty.

Strip Only What You Must

Begin with mild cleaners and mineral soap to remove grime that often masquerades as damage. If stripping becomes necessary, use citrus-based products, card scrapers, and controlled heat with careful distance. Work in small sections, neutralize residues properly, and protect veneers. Patience here preserves crisp edges, avoids gouges, and keeps delicate inlays intact, setting the stage for a smoother sanding sequence and a finish that bonds consistently and predictably.

Sanding and Surface Preparation

Sanding is more about sequence than strength. Start with the least aggressive grit that lifts defects, move steadily through grits, and avoid skipping steps. Sand with the grain, pad curves with foam blocks, and vacuum between passes. Use raking light to reveal scratches before finishing. This measured approach prevents burn-through on edges, saves time later, and creates a tactile surface ready to accept stains, oils, or paints beautifully.

Smart Furniture Transformations

Turn a damaged dresser into a bathroom vanity by removing interior drawers, reinforcing the frame, and sealing the top against moisture. Or convert a coffee table into a bench with a cushion and hidden storage. Respect ergonomics, match leg heights, and ensure clearances. With careful planning and a few reinforcing brackets, formerly tired furniture becomes versatile, comfortable, and ready for everyday life without compromising structural integrity or aesthetics.

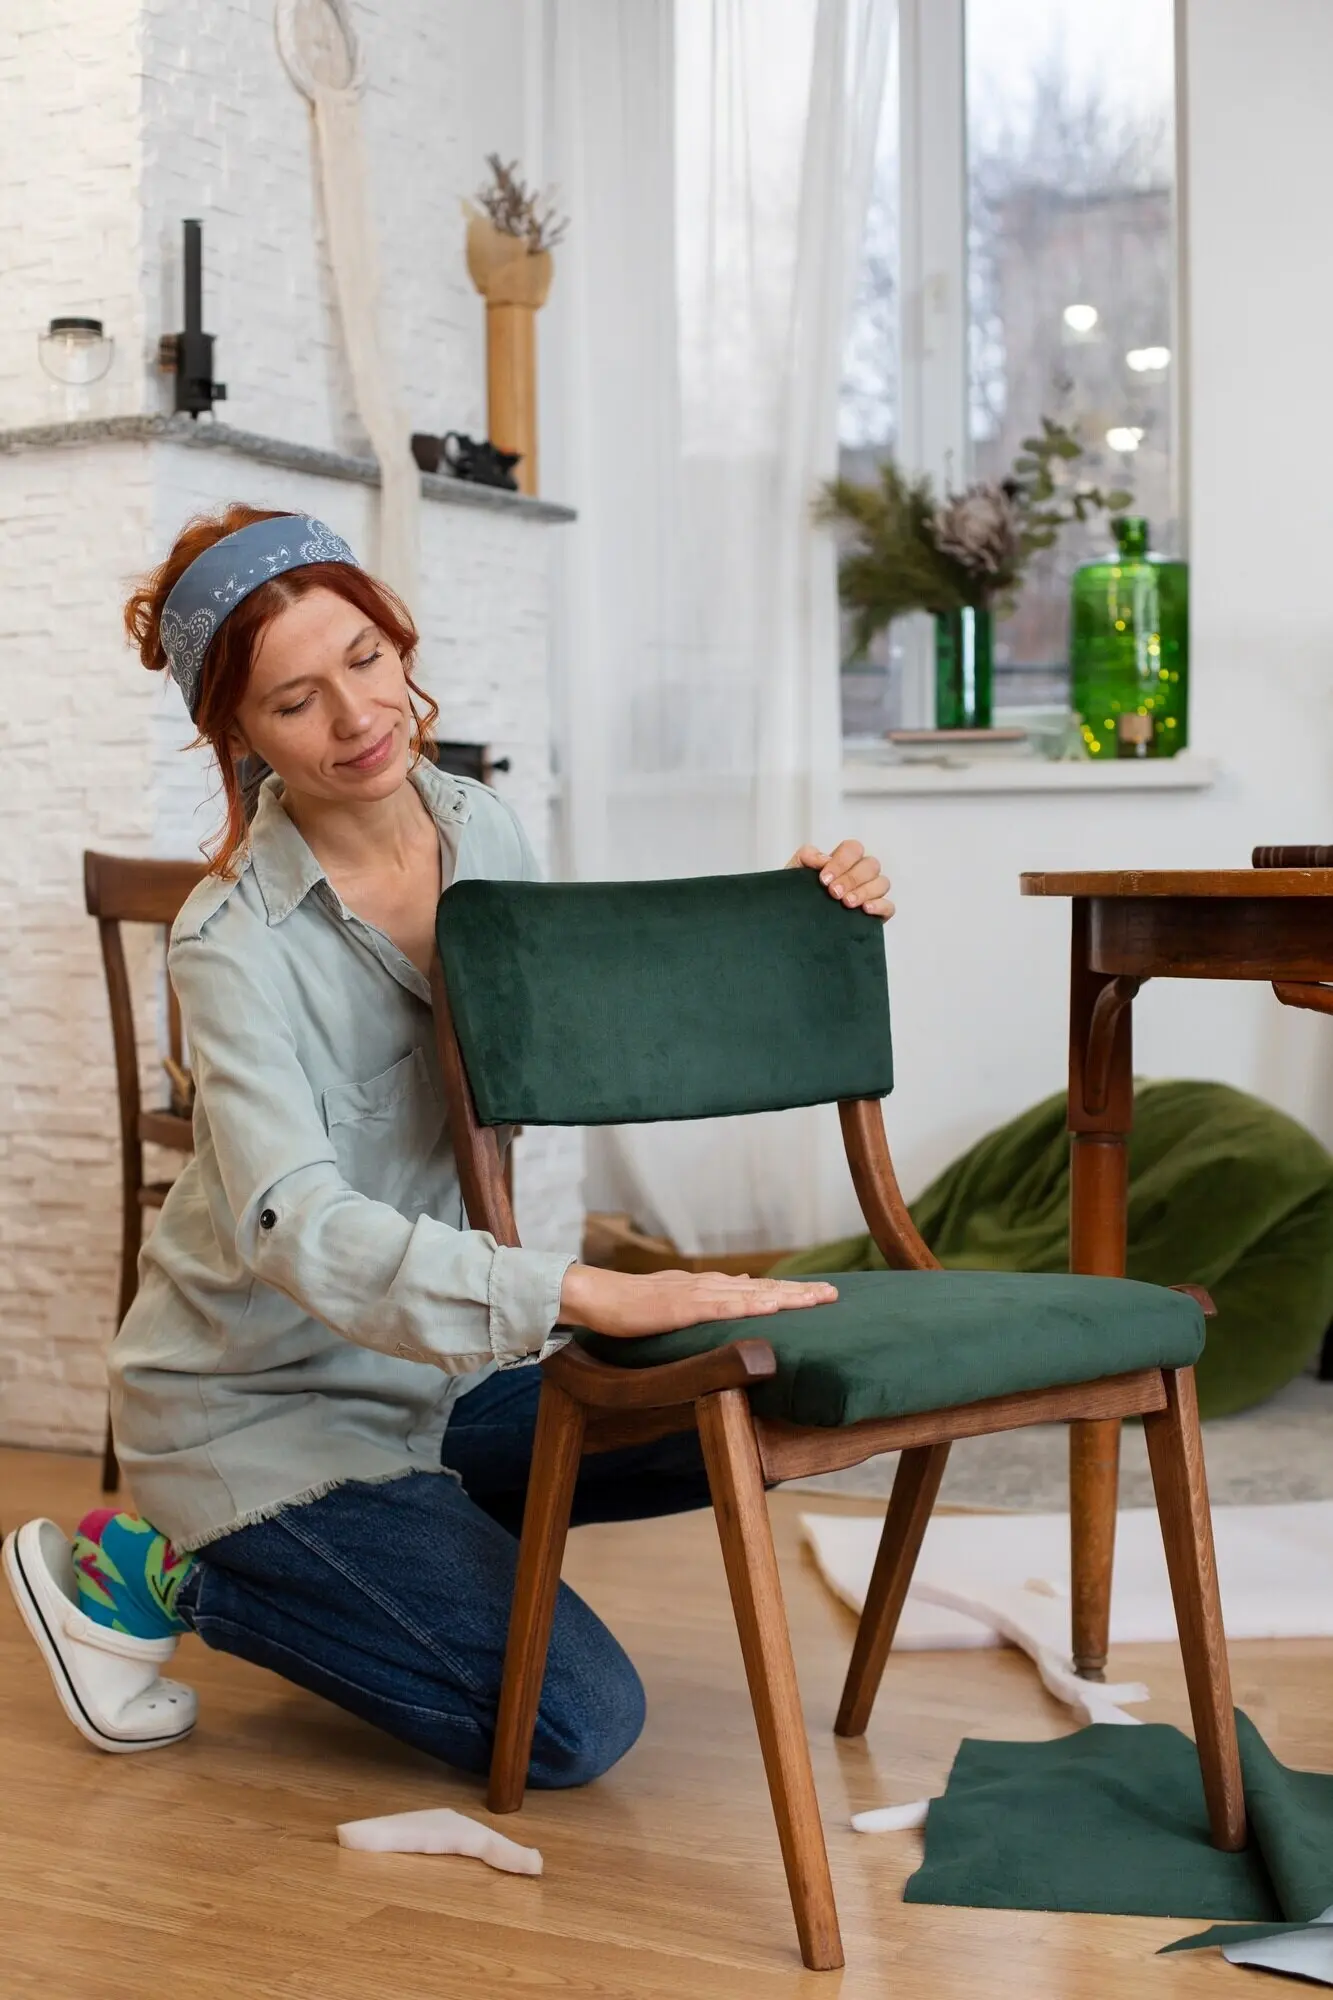
Textiles with Fresh Purpose

Give worn linens and denim a second act through patchwork, cushion covers, or slipcovers that protect seats and add soft texture. Combine neutral palettes with one bold accent shade for cohesion. Edge seams with bias tape for durability, and prewash fabrics to prevent surprises. These simple techniques tame fabric bins, reduce landfill contributions, and introduce tactile warmth that makes rooms feel inviting, lived-in, and deeply personal.

Lighting from Leftovers

Scrap wood, old colanders, and vintage jars can become conversation-starting lamps. Prioritize UL-listed sockets, heat-safe clearances, and appropriate cable gauges. Diffuse glare with frosted bulbs or parchment shades, and route cords neatly along furniture legs. The result pairs sculptural presence with practical illumination, turning forgotten objects into warm beacons that celebrate resourcefulness while meeting safety standards every night you flip the switch.

Adhesives and Fasteners with Intent

Use PVA for most wood joints, hide glue for reversibility, epoxy for gap filling, and construction adhesive sparingly where flexibility matters. Select screws with appropriate threads and pilot holes that prevent splitting. Mark joint dates under seats. Future you—or a future owner—will appreciate the clarity, and repairs will remain approachable instead of destructive, ensuring the piece can journey gracefully through many hands and homes.

Finishes That Respect Air and Hands

Low-VOC paints and oils protect indoor air while offering handsome sheen options. Look for third-party certifications and full ingredient disclosures. Favor brushed or rolled application to minimize overspray, and clean tools with biodegradable solvents when possible. Hands will touch these surfaces daily; prioritize finishes that feel pleasant, resist dirt, and can be renewed without stripping everything back to wood, making maintenance gentle rather than daunting.

Sourcing Reclaimed Materials Wisely

Architectural salvage yards, community buy-nothing groups, and habitat stores offer treasure troves of solid lumber, quality hardware, and dimensionally stable panels. Inspect for pests, moisture content, and hidden nails before cutting. Mill slowly to reveal fresh surfaces without erasing character. When provenance is known, record it in a small note taped inside a drawer, preserving the story that enriches everyday use and future stewardship.

Repair Techniques That Build Lasting Strength

Joinery Fixes without Excess

For loose mortise-and-tenon joints, clean old glue, shim with veneer if needed, and use fresh PVA or hide glue. Dry-fit with clamps to verify alignment before committing. Add discreet corner blocks where appropriate. This disciplined approach preserves original craftsmanship, reduces reliance on visible brackets, and yields stronger connections that respond naturally to seasonal changes in humidity without cracking surrounding components or forcing mismatched parts together.

Patch, Fill, and Color-Match

Use wood patches cut along the grain for larger defects and cellulose or epoxy fillers for small voids. Level carefully, then tone with dyes, glazes, or colored wax sticks. Work in thin layers, recording mixes for later touch-ups. Subtle, accurate color work allows character to remain while eyes glide past old damage, preserving authenticity and welcoming new wear that reads as honest life rather than careless neglect.

Metal and Mixed-Material Repairs

For steel frames, remove rust with citric bath or wire wheels, then prime with rust-inhibiting, low-VOC primers. Tighten rivets or replace with machine screws and locknuts. For wood-to-metal interfaces, add fiber washers to reduce squeaks. With cane, leather, or glass components, coordinate gentle adhesives and expansion allowances. These careful transitions respect different materials’ behavior, keeping joints tight, finishes bonded, and daily use pleasantly worry-free.

Preventive Routines that Pay Off

Dust furniture with a soft cloth, rotate cushions, and shield surfaces from direct sun to slow fading and glue creep. Place felt pads under legs and adjust humidity to protect wood movement. Short, regular rituals prevent big repairs and keep finishes glowing. With a calendar reminder and a tiny toolkit nearby, maintenance becomes satisfying, empowering, and surprisingly quick, preserving calm instead of inviting emergency weekends.

Connect, Learn, and Share

Join neighborhood workshops, maker spaces, and online communities where tips, spare parts, and encouragement circulate freely. Swap extra hardware, lend clamps, and host finish-testing nights. These connections transform solitary tasks into collaborative learning, unlocking new techniques and confidence. Invite readers to comment with questions, subscribe for project walkthroughs, and request tutorials. Your stories, successes, and challenges help others repair boldly and keep treasured pieces thriving.

Track Progress and Celebrate Wins

Keep a simple log of hours, materials, and outcomes. Record what worked, what failed, and what you would change next time. This reflective habit compounds skill, reduces waste, and clarifies realistic timelines. Share before-and-after photos to inspire newcomers. Celebration matters; it reinforces the joy of stewardship and turns each repaired object into a reminder that care and craft can shape daily life beautifully.

Care, Maintenance, and Shared Inspiration

Longevity is a habit, not a single project. Establish seasonal checkups, relubricate drawer slides, tighten hardware, and refresh protective waxes. Keep a small repair kit accessible to catch problems early. Photograph progress, track dates, and celebrate each saved chair or revived lamp. Share results with friends, neighbors, or local groups to encourage a culture of stewardship where skills spread, waste shrinks, and homes feel more grounded and generous.
Kepolelupozikikipu
Privacy Overview

This website uses cookies so that we can provide you with the best user experience possible. Cookie information is stored in your browser and performs functions such as recognising you when you return to our website and helping our team to understand which sections of the website you find most interesting and useful.